DIY earring organizer
I started with just a couple of earrings and I used to put them in a small jewellery case. After a while, it just wasn't good enough anymore. I started to get annoyed with having to find the earrings that I wanted to wear within a pile of earrings, which are totally entangled with each other, and also with having to find the other earring of a pair and just frustratingly giving up after searching for a long time. Although my first solution was to buy larger jewellery cases, I got inspired to make an earring organizer myself.
In Hong Kong, I bought some really nice drawer organizers in a HK$10 shop. But because they did not fit in the drawers that I have at home (too tall), I had just left them lying around, somewhere in my room. As you might know from my previous DIY bag hanger project, when I start to feel bored, I go through my room and the rest of the house in search of things I can do crafts with.
.jpg)


.jpg)
Because I already bought the drawer organizers in the right shapes and in sturdy plastic, it was really easy for me. But in case you don't have these, you will have to make the shapes yourself. This is how they are supposed to look like, somewhat like the shape of a comb.
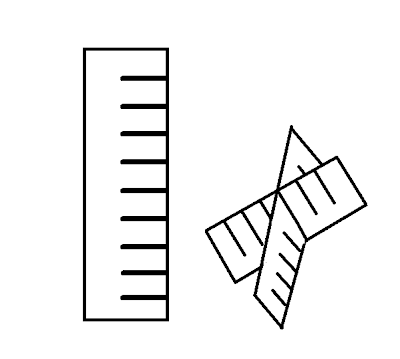 You have to use a thick but cut-table material such as carton or thin plastic to make two of the shape that you can find in the left of the illustration. It is basically a rectangle with cuts in the right side. After you have made two, you can fit the two parts in each other like in the right. With a pin or a needle, you can make small holes in the earring organizer for small button earrings. Using thin ribbons that you thread between the "tooth" of the organizer, you can add more space to hang earrings on and also give the organizer a cute element by tying the ends into a pretty bow. I have used a chic black ribbon and a wine colored ribbon.
In Hong Kong, I bought some really nice drawer organizers in a HK$10 shop. But because they did not fit in the drawers that I have at home (too tall), I had just left them lying around, somewhere in my room. As you might know from my previous DIY bag hanger project, when I start to feel bored, I go through my room and the rest of the house in search of things I can do crafts with.
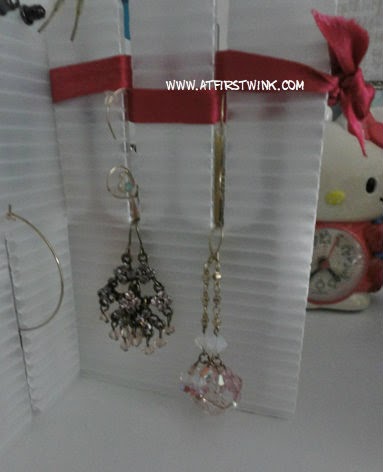
This is the result of a Sunday afternoon:
.jpg)

.jpg)
Because I already bought the drawer organizers in the right shapes and in sturdy plastic, it was really easy for me. But in case you don't have these, you will have to make the shapes yourself. This is how they are supposed to look like, somewhat like the shape of a comb.

It is really easy, so give it a try.